> ## Documentation Index
> Fetch the complete documentation index at: https://docs.ollama.com/llms.txt
> Use this file to discover all available pages before exploring further.
# Importing a Model
## Table of Contents
* [Importing a Safetensors model](#importing-a-model-from-safetensors-weights)
* [Importing a GGUF model](#importing-a-gguf-model)
* [Sharing models on ollama.com](#sharing-your-model-on-ollama-com)
## Importing a model from Safetensors weights
First, create a `Modelfile` with a `FROM` command which points to the directory containing your Safetensors weights:
```dockerfile theme={"system"}
FROM /path/to/safetensors/directory
```
If you create the Modelfile in the same directory as the weights, you can use the command `FROM .`.
Now run the `ollama create` command from the directory where you created the `Modelfile`:
```shell theme={"system"}
ollama create my-model
```
Lastly, test the model:
```shell theme={"system"}
ollama run my-model
```
## Importing a GGUF model
Ollama does not quantize GGUF models during import. Prepare and quantize them first with a GGUF tool such as llama.cpp's [`llama-quantize`](https://github.com/ggml-org/llama.cpp/tree/master/tools/quantize).
To import a single-file GGUF model, create a `Modelfile` containing:
```dockerfile theme={"system"}
FROM /path/to/file.gguf
```
For a split GGUF model, keep the original split filenames and use a wildcard that matches every shard.
```dockerfile theme={"system"}
FROM /path/to/model-*.gguf
```
Once you have created your `Modelfile`, use the `ollama create` command to build the model.
```shell theme={"system"}
ollama create my-model
```
## Sharing your model on ollama.com
You can share any model you have created by pushing it to [ollama.com](https://ollama.com) so that other users can try it out.
First, use your browser to go to the [Ollama Sign-Up](https://ollama.com/signup) page. If you already have an account, you can skip this step.
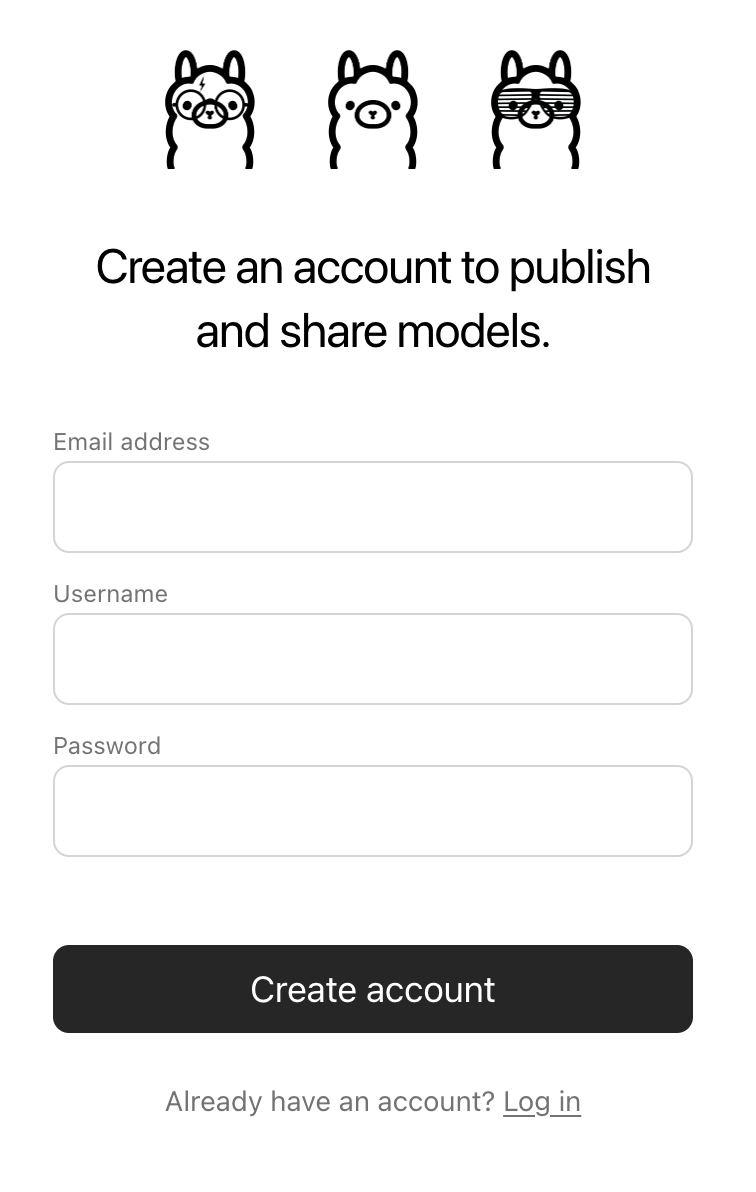 The `Username` field will be used as part of your model's name (e.g. `jmorganca/mymodel`), so make sure you are comfortable with the username that you have selected.
Now that you have created an account and are signed-in, go to the [Ollama Keys Settings](https://ollama.com/settings/keys) page.
Follow the directions on the page to determine where your Ollama Public Key is located.
The `Username` field will be used as part of your model's name (e.g. `jmorganca/mymodel`), so make sure you are comfortable with the username that you have selected.
Now that you have created an account and are signed-in, go to the [Ollama Keys Settings](https://ollama.com/settings/keys) page.
Follow the directions on the page to determine where your Ollama Public Key is located.
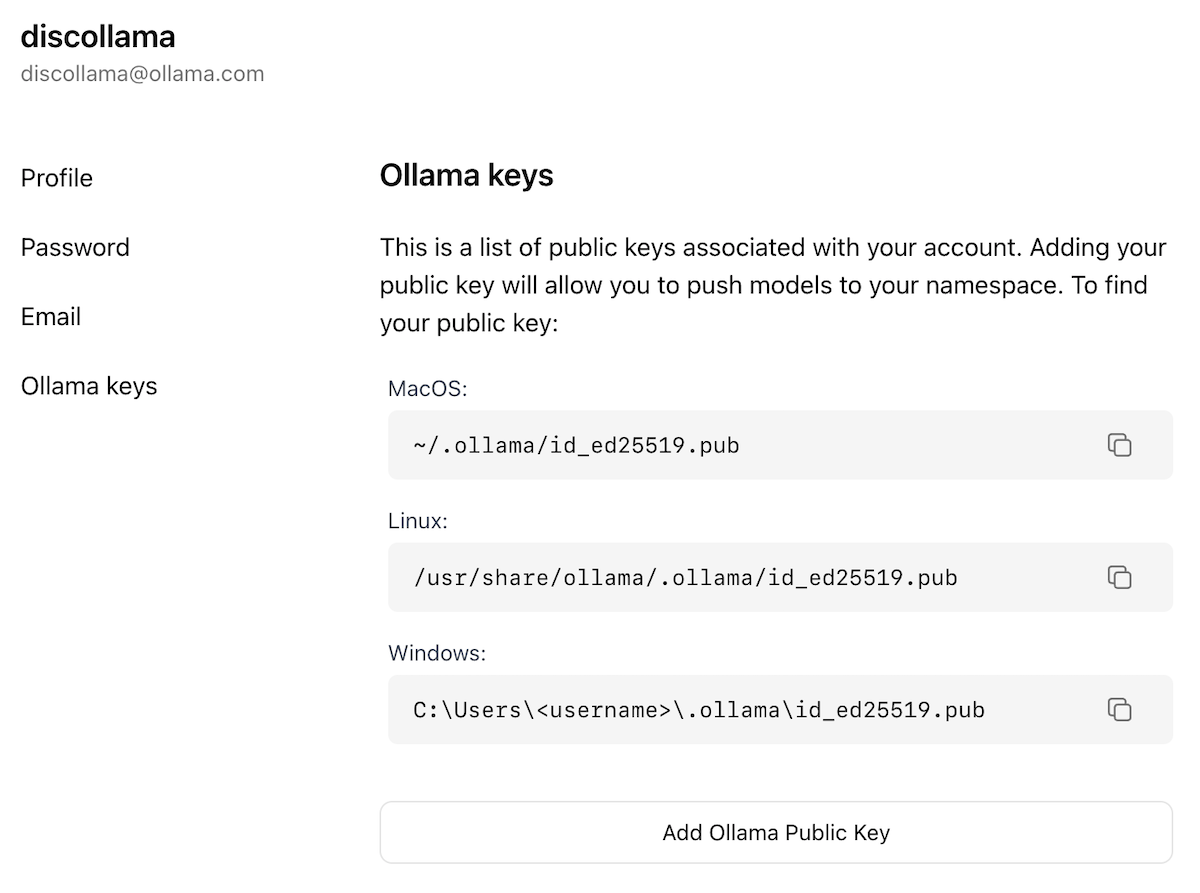 Click on the `Add Ollama Public Key` button, and copy and paste the contents of your Ollama Public Key into the text field.
To push a model to [ollama.com](https://ollama.com), first make sure that it is named correctly with your username. You may have to use the `ollama cp` command to copy
your model to give it the correct name. Once you're happy with your model's name, use the `ollama push` command to push it to [ollama.com](https://ollama.com).
```shell theme={"system"}
ollama cp mymodel myuser/mymodel
ollama push myuser/mymodel
```
Once your model has been pushed, other users can pull and run it by using the command:
```shell theme={"system"}
ollama run myuser/mymodel
```
Click on the `Add Ollama Public Key` button, and copy and paste the contents of your Ollama Public Key into the text field.
To push a model to [ollama.com](https://ollama.com), first make sure that it is named correctly with your username. You may have to use the `ollama cp` command to copy
your model to give it the correct name. Once you're happy with your model's name, use the `ollama push` command to push it to [ollama.com](https://ollama.com).
```shell theme={"system"}
ollama cp mymodel myuser/mymodel
ollama push myuser/mymodel
```
Once your model has been pushed, other users can pull and run it by using the command:
```shell theme={"system"}
ollama run myuser/mymodel
```